 Every year that my wife and I went to the State Fair of Texas, we looked at greenhouses. My wife would always tell me she wanted one. I always had plenty of excuses not to get one, we could not decide on a model, we could not decide on a location, there was not enough money. By Christmas, all thoughts of a greenhouse would be gone and a new year would start.
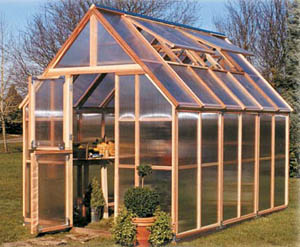
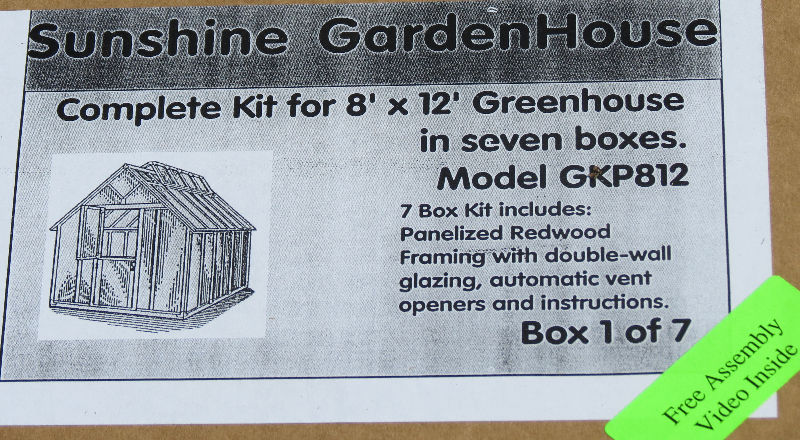
This year when I asked her what she wanted for her anniversary, she sent me two different links pointing to the same greenhouse and the State Fair had not even started. It was an 8 X 12 wood frame kit that “could be assembled by two people in about six hours.” The enduring nature of an aluminum frame has always appealed to me but since I had totally forgotten about our anniversary last year, I knew I was in trouble and promptly ordered her selection. Thus began this adventure.
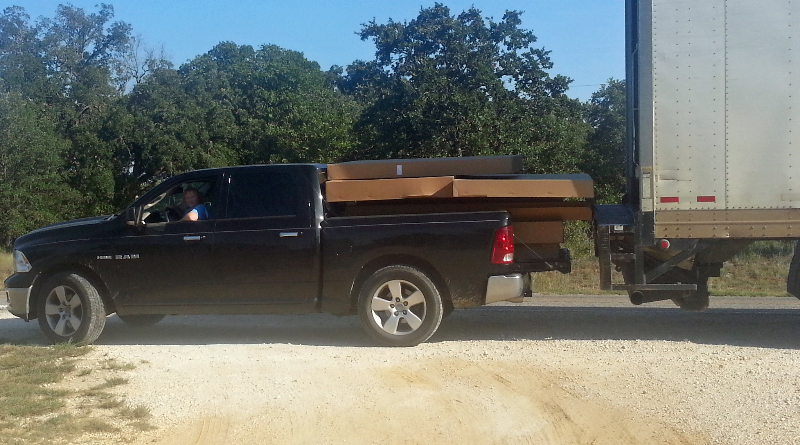
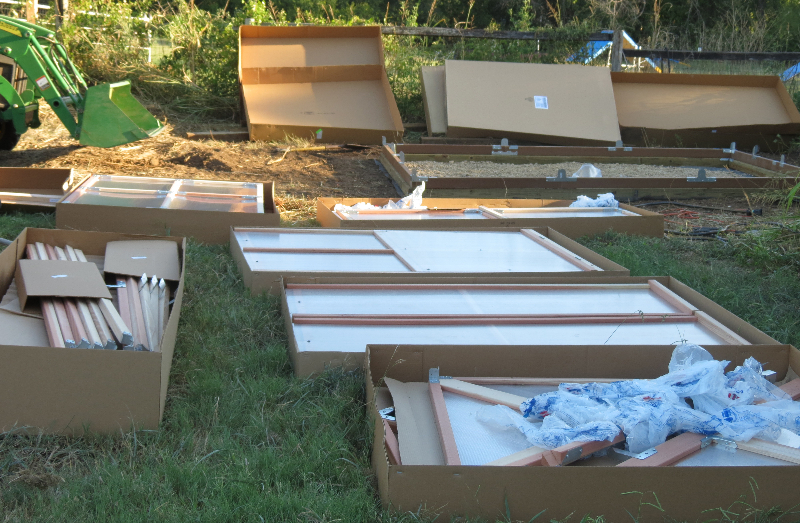
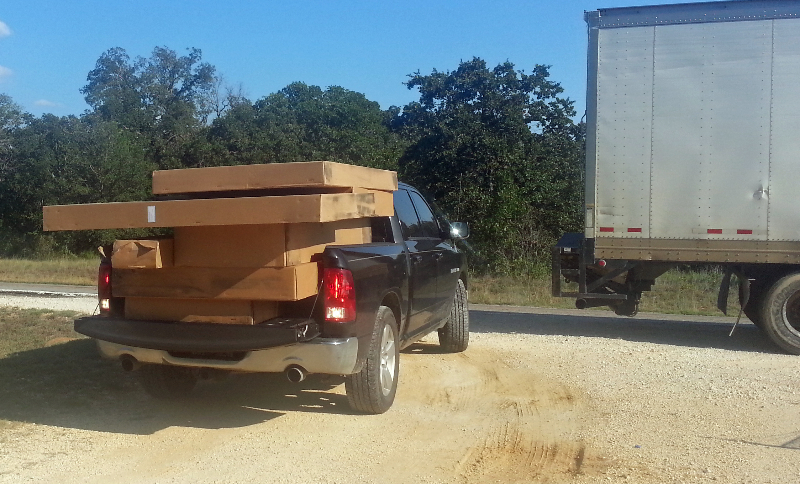
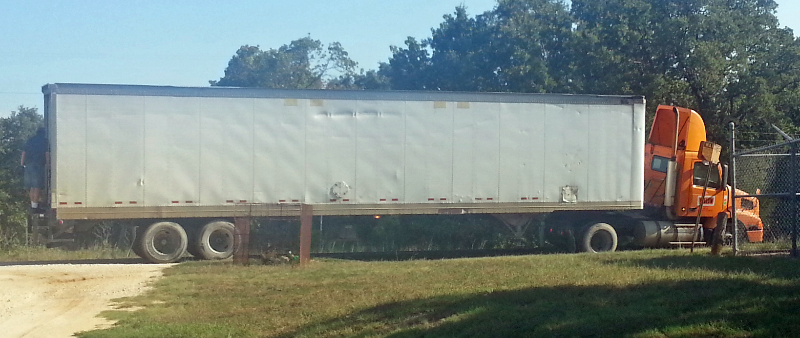
In about 10 days my wife received a call from the freight company. They wanted a concrete driveway and a place to turn around, no backing. My place is very secluded and has none of that. While I’ve had two 18 wheelers come down my driveway both times were ugly and resulted in cutting fence to enable a turn around. This was much easier, since the driver refused to come down my driveway and since backing was out of the question, he parked the rig on the side of the road and we unloaded the 7 boxes (750 lbs) into my wife’s pickup.


My wife had no problem getting it down the driveway but she needed to leave for a dog class in 30 minutes. I won’t say it was easier to unload it but we certainly did it faster. This was going great, we would get an early start in the morning and be finished by two. That’s when she asked about the foundation.
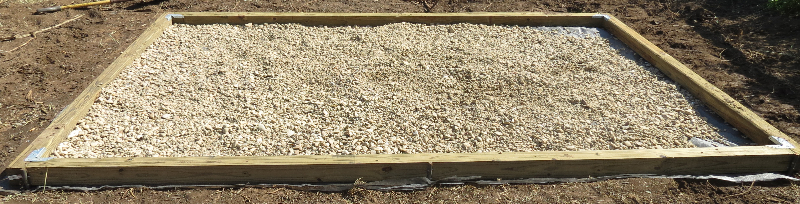
The Sunshine greenhouse comes with synthetic baseboards to allow you to set in on the ground if you want. My wife had been looking at options and wanted something different. We discussed concrete, paving brick, wood and gravel. Fortunately for me, she agreed on gravel. Off to the hardware store to get supplies. We only got 15 bags of river rock, about half of what I calculated we would need, because weight was a concern. We also got some garden fabric to act as a weed block.
I used the tractor to clear and level the ground. I then put down a double layer of garden fabric and an 8 x 12 frame of treated wood. After squaring it, making sure it was exactly 8 X 12 and spreading what I already knew was only half of the gravel I needed, I had managed to kill eight hours of my scheduled six. Did I mention it was running right around 100 degrees F in Texas at the time?

That was alright though, I had a foundation I was happy with and the rest of the project would be completed tomorrow.
Day two:
 Using the instructions I assembled the bottom frame. I’m not keeping count of my mistakes but this added two to my total. I found out the greenhouse base was not 8 X 12. It was actually 8 X 11 feet and 11 inches. It fit on my foundation but not flush. That’s when I started looking closely and realized the instructions were just not detailed enough to prevent me from getting the front and back pieces backwards. That’s also when I discovered the DVD. This is a lifesaver. Throw away the instructions. The DVD has the detail you need to see and makes the job much easier.
I reversed the pieces and determined that I had the frame correct, it was just slightly shorter than I had anticipated. I also noticed that one side had about two inches of warp in the center. This contributed slightly to the length issue but only slightly. What it did do was make my squaring measurements wrong. My only defense is that my degree is in electrical engineering not mechanical engineering.
Watching the DVD was very enlightening. I learned that this could be done in about 6 hours, if you had two experienced people with power drills and ladders for both. My wife and I had no experience, one power drill and one ladder. Time for another schedule revision.
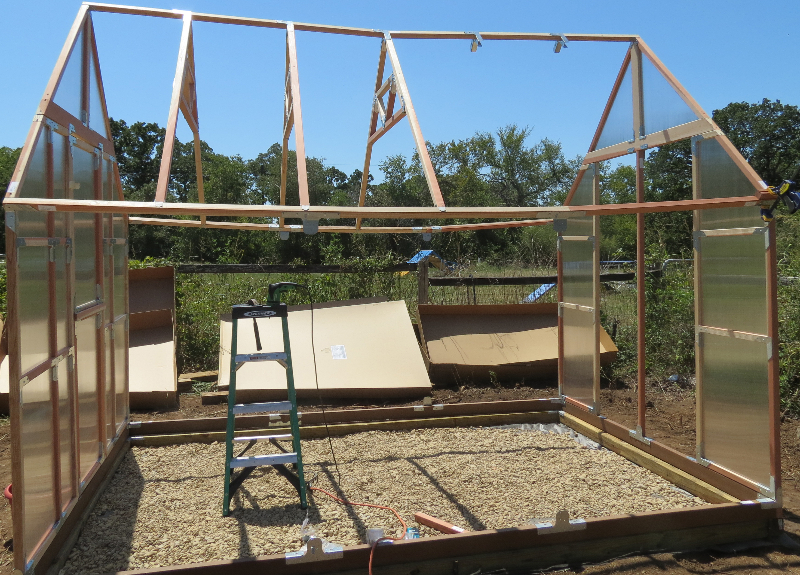
 My wife had to go to a dog show for the morning and I thought this would present no problems. All the panels were light and I wouldn’t be getting on a ladder yet. While it’s not impossible to install the side plates by yourself, it did take me two hours to come up with a method that worked. Save yourself the frustration, get some help. My wife got home in time to help me with the rafters and with her help, it was surprisingly easy.
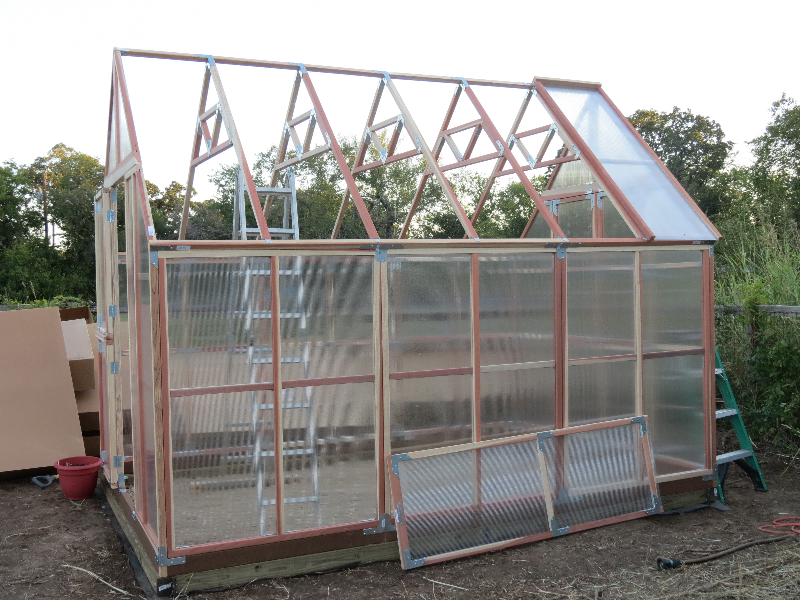
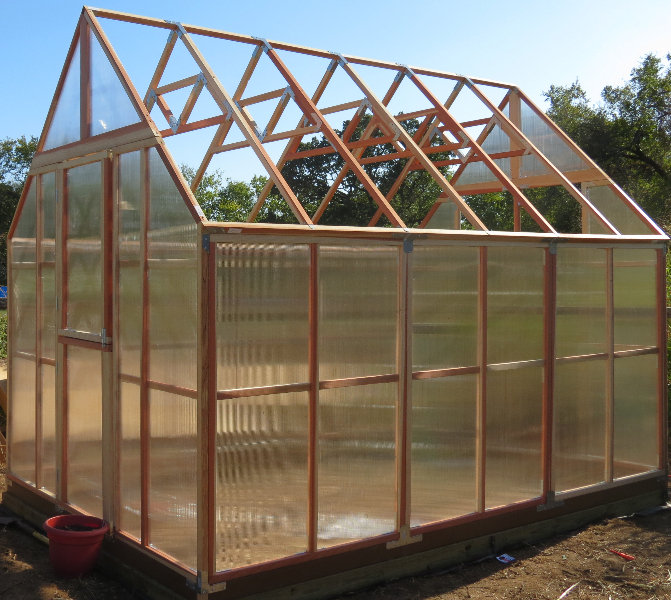
If you look at the picture before the side panels were added, you notice a significant amount of sagging. This was supposed to be natural and the DVD assured me that installing the side panels would make it look great.
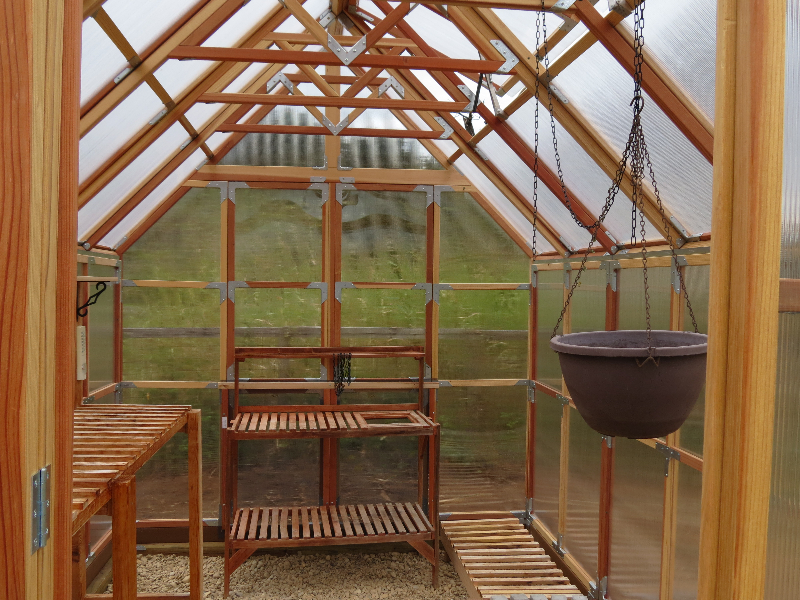
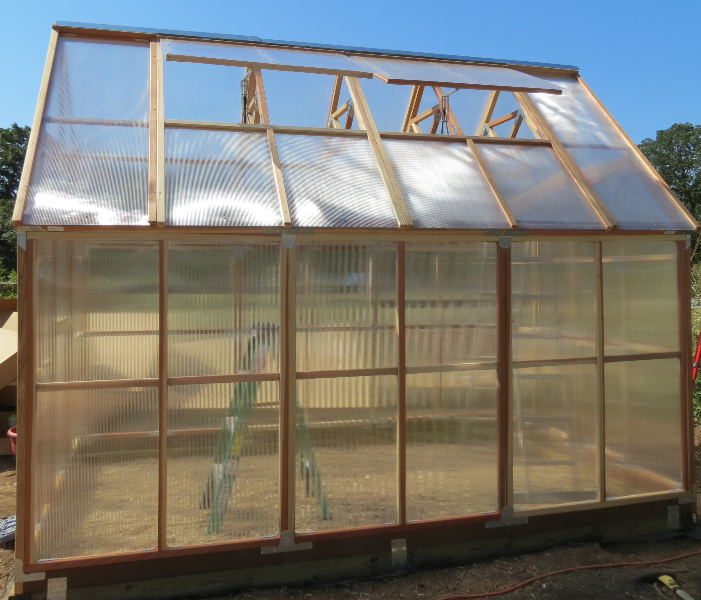
Putting on the side panels was very easy with my wife helping and made it look like a real greenhouse. Time to call it a day.
Day Three:
Putting on the roof was far easier than I expected. It was here that I encountered my first major decision. The instructions suggest putting the vented panels on the side opposite the prevailing summer winds. The panels are marked to have the vent on the left side of the house. I wanted them on the right and it took me a while to realize that the predrilled screw holes required me to swap the front and back panels. That worked really well except that the predrilled holes on the ridge were now wrong. This is also where not having the frame completely square bit me. The panels fit and connected with rafters where they needed to but the roof was about 1/4 inch out of square. Not enough to cause a problem but enough to stick out like a sore thumb to me.
I had only put in a half day’s work but it was the end of a three day weekend and I wanted to enjoy some of my time off.
Days Four through Six were workdays. I decided to let the project rest.
Day Seven:
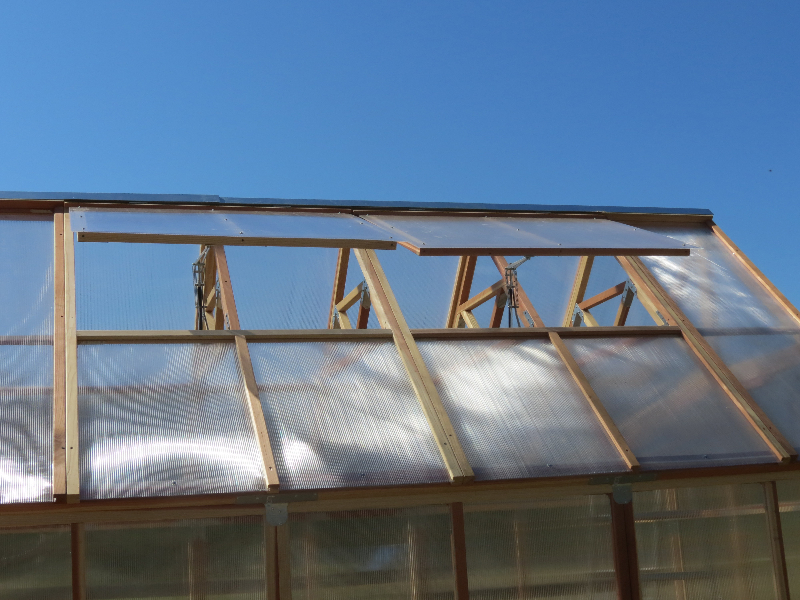
It took me less than three hours to finish up. I put the remaining roof panels on and added the automatic vents. I even added all the door trim. It was now ready for my wife. She had great faith in me and had already left for the nursery.
Final Thoughts:
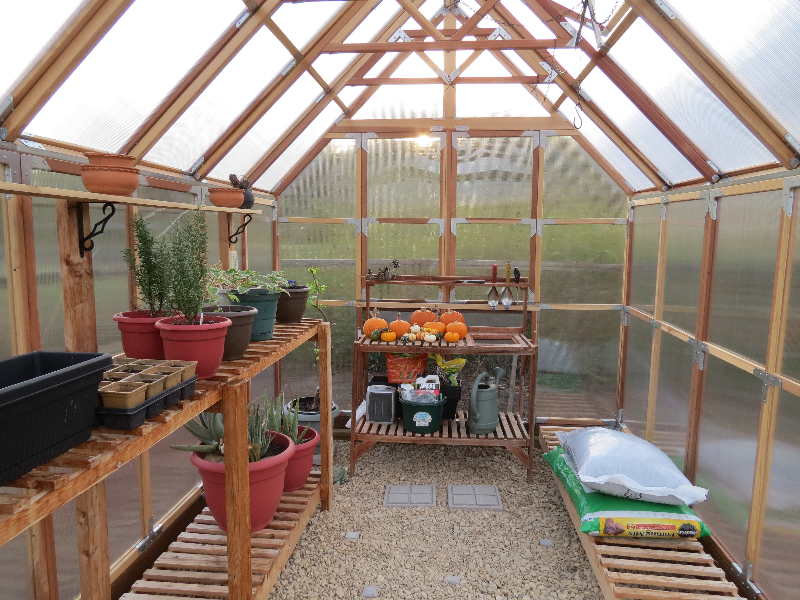
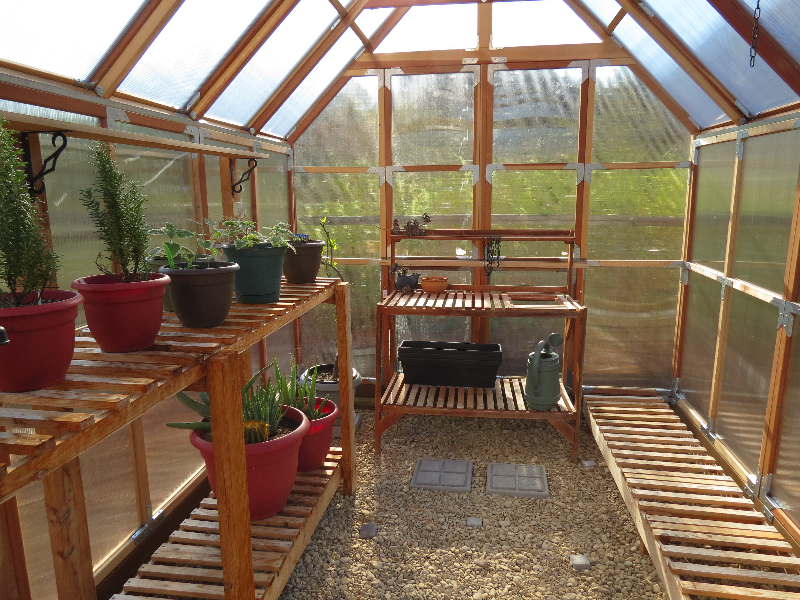
While it did take longer than six hours, I’m very pleased with the way it turned out. The panels are preassembled. and very light weight making them easy to lift and move into place. If you use the DVD and take your time to make absolutely sure the frame is level and square, there is no reason not to have great results. There are occasional gaps between the panels that can be sealed with clear silicone caulking.
My wife has completely forgiven me for missing last year’s anniversary. I’ve added a few more pictures of the project in the slideshow below. As time goes on and my wife fills the interior, I’ll add more pictures. While assembly of the kit is complete, I have a feeling this project has just started. Now she wants raised flower beds around the base.


© 2012 – 2019, Byron Seastrunk. All rights reserved.


Maybe if you used conduit it would have been easier for you. Ha ha see you at work
And Carol hasn’t asked me yet what I’d like for Christmas 😉
Mother-in-law
This is hysterical!! Now…it occurs to me that you have forgotten my last 40 something birthdays…wonder where I could fit a greenhouse…hmmmmmmmmm