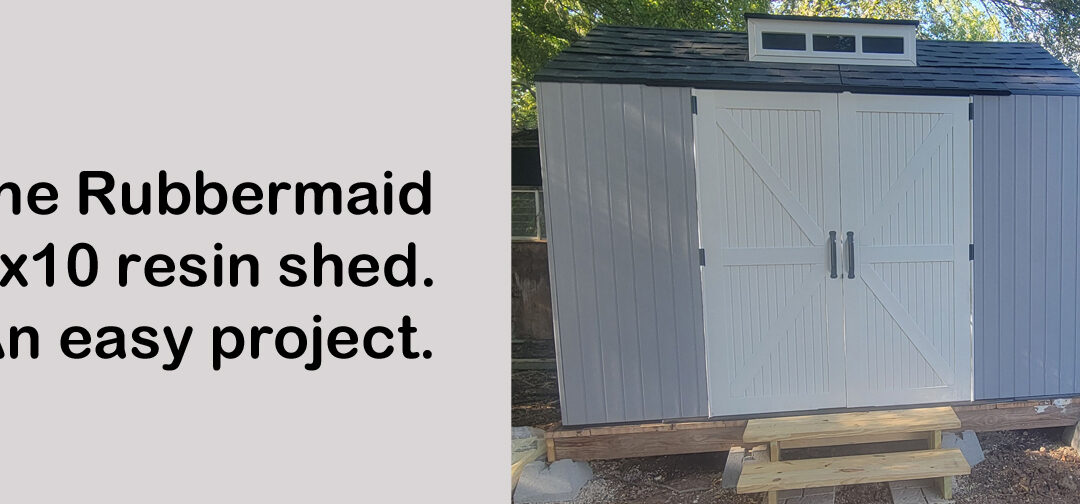
This is a review of the Rubbermaid 7’ x 10’ shed but my story begins with a humbling confession of my own ignorance. When I bought my dream ranch, complete with a charming old barn, I was blissfully unaware of the storm of frustration that lay ahead. Neither the barn nor the house had sufficient slant to their roofs—a detail that would lead to untold heartache. I couldn’t have imagined how water would gather in every slight depression, turning minor dips into major leaks, and eventually, rotting the wood I had expected would stand for years.
I sealed every nail, replaced countless boards of rotted wood, but it was like trying to hold back a flood with a paper towel. By the time I finally grasped the true scope of the problem, it was too late. The barn was a lost cause, sacrificed to the shortsighted decisions of whoever had designed it. I felt utterly defeated.
We’re down to one horse now, but as winter loomed, the need for a dry place to store winter hay still existed. I turned to ChatGPT for aid in calculating the space needed for hay storage and when a Rubbermaid 7′ x 10′ shed popped up on Amazon Prime Day with a tempting discount, it felt like a lifeline.
Still, before jumping I read reviews, countless negative reviews, the majority echoing the same complaint: parts not fitting properly. Having already built two sheds, I knew the ugly truth behind this complaint—if your foundation isn’t square and level, nothing will fit. From horse troughs to storage containers, we already rely on a number of Rubbermaid products. This was a challenge I was willing to accept.

Low torque screwdriver
During the next two grueling weeks, I tore down two horse stalls and salvaged every piece of wood I could to craft a level foundation. That’s when I encountered my first issue: after downloading the instructions, I discovered the shed wasn’t simply10 x 7—it was 10 feet 6 inches by 7 feet 1 inch. My heart sank. When you’re working with scrap wood, every inch matters. A few choice words later, I determined I had caught the mistake before making any major cuts. Crisis averted, for now.
Before the shed even arrived, I followed the tried-and-true advice of every DIY enthusiast: buy a new tool. My wife would say I have more screwdrivers than any sane person needs, but I convinced myself a low-power battery-powered screwdriver was essential to avoid stripping the panel screws. It turned out to be a brilliant move.
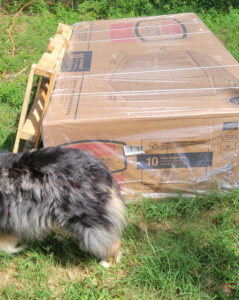
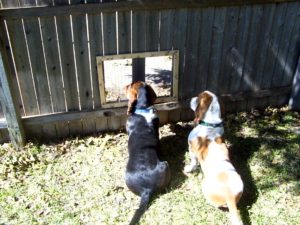
The box, Ronin inspecting.
The shed came in a single, huge box—432 pounds of plastic and metal. I was fortunate the delivery driver was willing to get it as close as possible to the worksite. Rubbermaid recommends two to three people and six hours for assembly. That’s certainly the smart way. On the other hand, I can attest that with a little ingenuity, one person can put it up in 10 hours. Being summer in Texas, where the temperature exceeded 100°F, the panels were a little more compliant and my breaks a little longer.
The floor went down quickly, the only complaint being that half the floor had been packed on top of the box and the other half on the bottom. I had to empty the entire box to complete the floor. Normally not a problem but the high heat could warp any panels not on a completely flat surface. The walls went up equally quickly after I crafted an assistant to hold the walls up—a 2×4 with a piece of scrap plywood attached to one end. Just enough to hold up a panel.
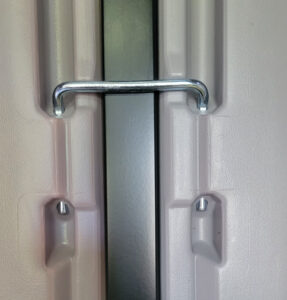
Wall connector
Here was the second problem. Those walls are joined together with a metal bracket and several U-shaped fasteners. Three times I found the plastic journals blocked. I was reluctant to use a hammer until I established the holes were in fact blocked and not a different issue. Once I confirmed my theory, my rubber hammer became my weapon of choice, and with a few solid hits, the walls were secure.
Next up was the metal frame for the roof—a task that felt like playing with fire. Literally. Do not, I repeat, do not leave metal pieces in the direct sun during a Texas summer. I learned the hard way, juggling pieces that felt like they were fresh from the forge. Here I encountered my third problem: the bolts. The frame is secured in four places by running a bolt from the outside to the frame. Try as I might, I could not get any of the bolts to start. I confirmed this was a fit problem by attempting to place the bolt without the intervening plastic wall. This may have been Rubbermaid’s idea of a thread locking mechanism, but these bolts were not going in. Finally, I resorted to a thread chaser, a tap used to clean out an already tapped hole, and had no more problems with the bolts.
Assembling the rest of the structure, I left all the structure bolts slightly loose to allow movement. This is a good practice as long as you remember to come back for a final tightening.
The roof pieces are big and require a ladder. They also interlock with the frame as you install them. Doing this step by yourself will result in extreme frustration. Once properly positioned, the roof secures easily. I had issues with the installation drawing perspectives, but in most cases, I was able to puzzle out what they intended.
The middle roof panel is lighter but also has less to secure it during installation. This is where you absolutely need a helper to hold the panel down from the outside. However, if your stubbornness is the stuff of legends, you might notice that removing the middle window allows you to pull the assembly down from the inside as you fasten it in place. No helper required.
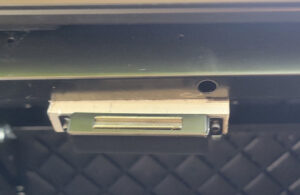
Cabinet Latch
With the roof assembled, only the doors remain. Don’t forget to tighten all the nuts you left loose in the previous step. I mention this because I also had to loosen the door hinges and fasteners to get the doors hanging properly. Here’s where I encountered my third problem: the doors are held in place by a slight wedge in the floor. This secures the door at the bottom, but the top had excessive movement that I felt would allow water in during a windy storm.
My solution was a cabinet latch from Amazon with a 90 pound magnet, a right-angle bracket, and some strips of industrial mounting tape. It works well (I was overly optimistic, see the update at the bottom).
Observations:
- The foundation is everything—don’t rush it.
- A low-torque electric screwdriver is your best friend.
- Some wall connector pin holes might be blocked—be prepared.
- Attaching the purlins with the bolts through the wall required extra care.
- The door issue can be fixed with a cabinet magnet and double-sided tape. Let the tape set before testing.
- While I don’t recommend it, I can attest to one person assembling this shed in 10 hours over two days.
- Even with roof windows, the shed is dark inside when the doors are closed, I mention this because there’s no provision for power—no outlets, no wiring channels. I don’t mind cutting holes in wood, but I won’t risk it with this resin.
Conclusion:
Now, I’m just waiting for the rain, hoping I have no leaks. Previous experience with outdoor sealing tape have made me confident in addressing any issues that crop up.
At the current price point it’s a quick and easy solution for storage. It certainly met all my expectations. I would hesitate to consider it for an office or a workshop just because it lacks wiring capability and a robust structure. Modifications, such as adding ventilation for use as the outsized chicken coop my wife wants would seem extraordinarily difficult.
Update 8/29/2024: Turns out my choice of a 90 lb. catch was probably excessive. Finding a glue that would attach to the Rubbermaid HDPE plastic was almost akin to the Holy Grail. I finally lucked out with some contact adhesive used for high temp dryers. The pull still being excessive, I added a layer of Gorilla fabric tape between the magnet and the catch. Now it’s perfect.
Update 9/06/2024: Still struggling to find a glue that attaches to the HPDE. However, the rain finally came and while overall it’s good, I have some work to do.
Update 2/02/2025: I had to give up on the idea of glue. Everything came loose over time. I finally used a 22 mm spacer to go through the door, so I could secure it from both sides without worrying about the screws pulling out of the plastic. Related to this, when I built the deck for the shed, I used concrete piers at 4 foot intervals, supported by three 12 foot 2x8s running laterally, also with 4 foot spacing. Despite this, 2500 lbs of hay bales caused a sag in the middle. The sag causes both door latch mechanisms to stop functioning. Adding a center support eliminated the problem. This is not a shed problem, but make sure your foundation is built for the weight you expect.

As envisioned by my wife. Not going to happen.
© 2024 – 2025, Byron Seastrunk. All rights reserved.


Your last, illustrated comment is Everything!
My daughter’s walk in closet wasn’t wired for a light. I found that a battery light with a motion detector works pretty well. Uses D cell batteries and we usually only replace them every couple of years.
Might be a good option for you.
Good idea and probably the route I will take. Sometimes I become so focused on solar power, I don’t consider other options. Thanks.