Two weeks ago, I promised I would explain why I had a collection of demon skulls and I would have met that schedule but repairing my 3D printer took priority. That’s done and unfortunately by the time you read this Halloween is probably over too. Still, I really like the effect and I’ll be looking for a way to incorporate it into something I print for Christmas.
Ever since I printed the gremlin head by IdeaForm3d at www.thingiverse.com, I thought it would be really neat to replace the eyes with LEDs that lit up when you approached it. Considering my lack of skills at the time, it’s not surprising that I used a drill on the body and the eye sockets. I used a PIR sensor from www.Sparkfun.com as a motion sensor to turn on the LEDs. I loved the effect but my wife banned it from the house. Only one problem, there was no place to hide the PIR sensor.
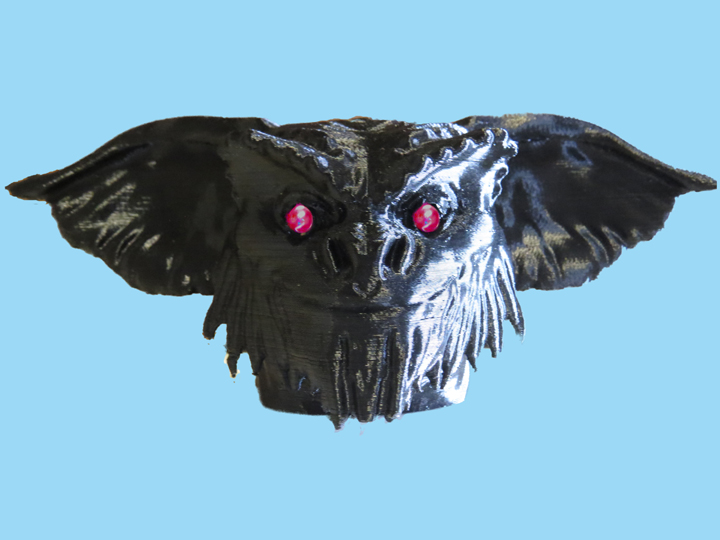
Gremlin head with LEDs for the eyes. Wife has banned it from the house.
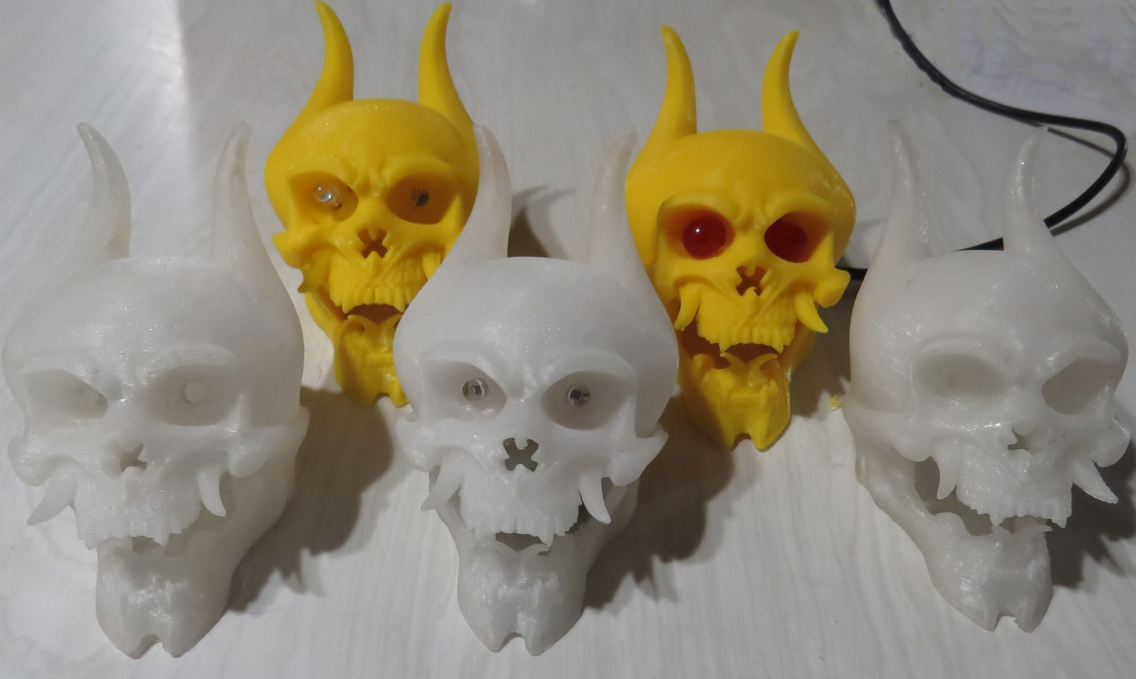
Prototypes
When I found the Oni skull by Jooxoe3i at www.thingiverse.com, I knew I could do something with it. The original skull was filled but by now I had enough skill with Blender to hollow out the skull and to add holes for the LED eyes. Well I thought I had the skill. I cut the eyes a little close and couldn’t make up my mind on the size of the LEDs. With the skull hollowed out there’s just enough room for the PIR sensor. I had to print a few to get it right. In the final model I left pilot holes for the LEDs but you’ll still have to drill out the eye holes.
Here’s what you need,
- Modified Oni skull (http://www.thingiverse.com/thing:1103132)
- PIR sensor
- 2 LEDs (5 mm or 10 mm, I used the 5 mm)
- 200 ohm resistor (use 100 ohms if you use 10 mm LEDs)
- connector wires
- Scrap USB charger

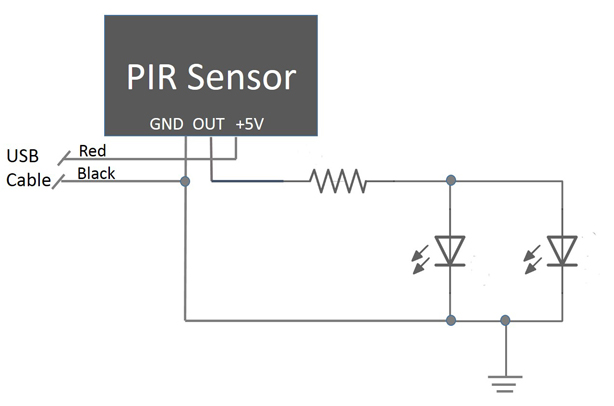
I wanted to write this so anyone could make one but I found out that Sparkfun no longer sells the PIR sensor I used and their new one operates slightly differently than the one I have, so much for an easy description. The output on my PIR sensor goes high when triggered and the description for the current model at Sparkfun says it goes low. Wire your PIR per the schematic below. If you did get an active low PIR you’ll have to reverse the direction of the LEDs and tie them to the +5 line instead of ground. Adafruit.com sells the same PIR sensor I‘m using, http://www.adafruit.com/products/189, and it comes with a cable.
I used an old USB charger for power because because it made a good source of +5 vdc and I have plenty. After cutting the end off the cable, I had a foil shield and four wires. I was lucky because the USB power lines were clearly marked using red and black wires. Since I was only using it for power, I cut the data lines and shield back. Depending on the cable you use, you might only have the power wires.
Some of you might have noticed I used no insulation on my solder splices. About six months ago, I found a UV cure plastic on Amazon, Bondic. Having no will power when it comes to technology toys, I bought the starter kit. While it works fairly well as an adhesive for ABS, it does a great job as insulation when you forget to use heatshrink.
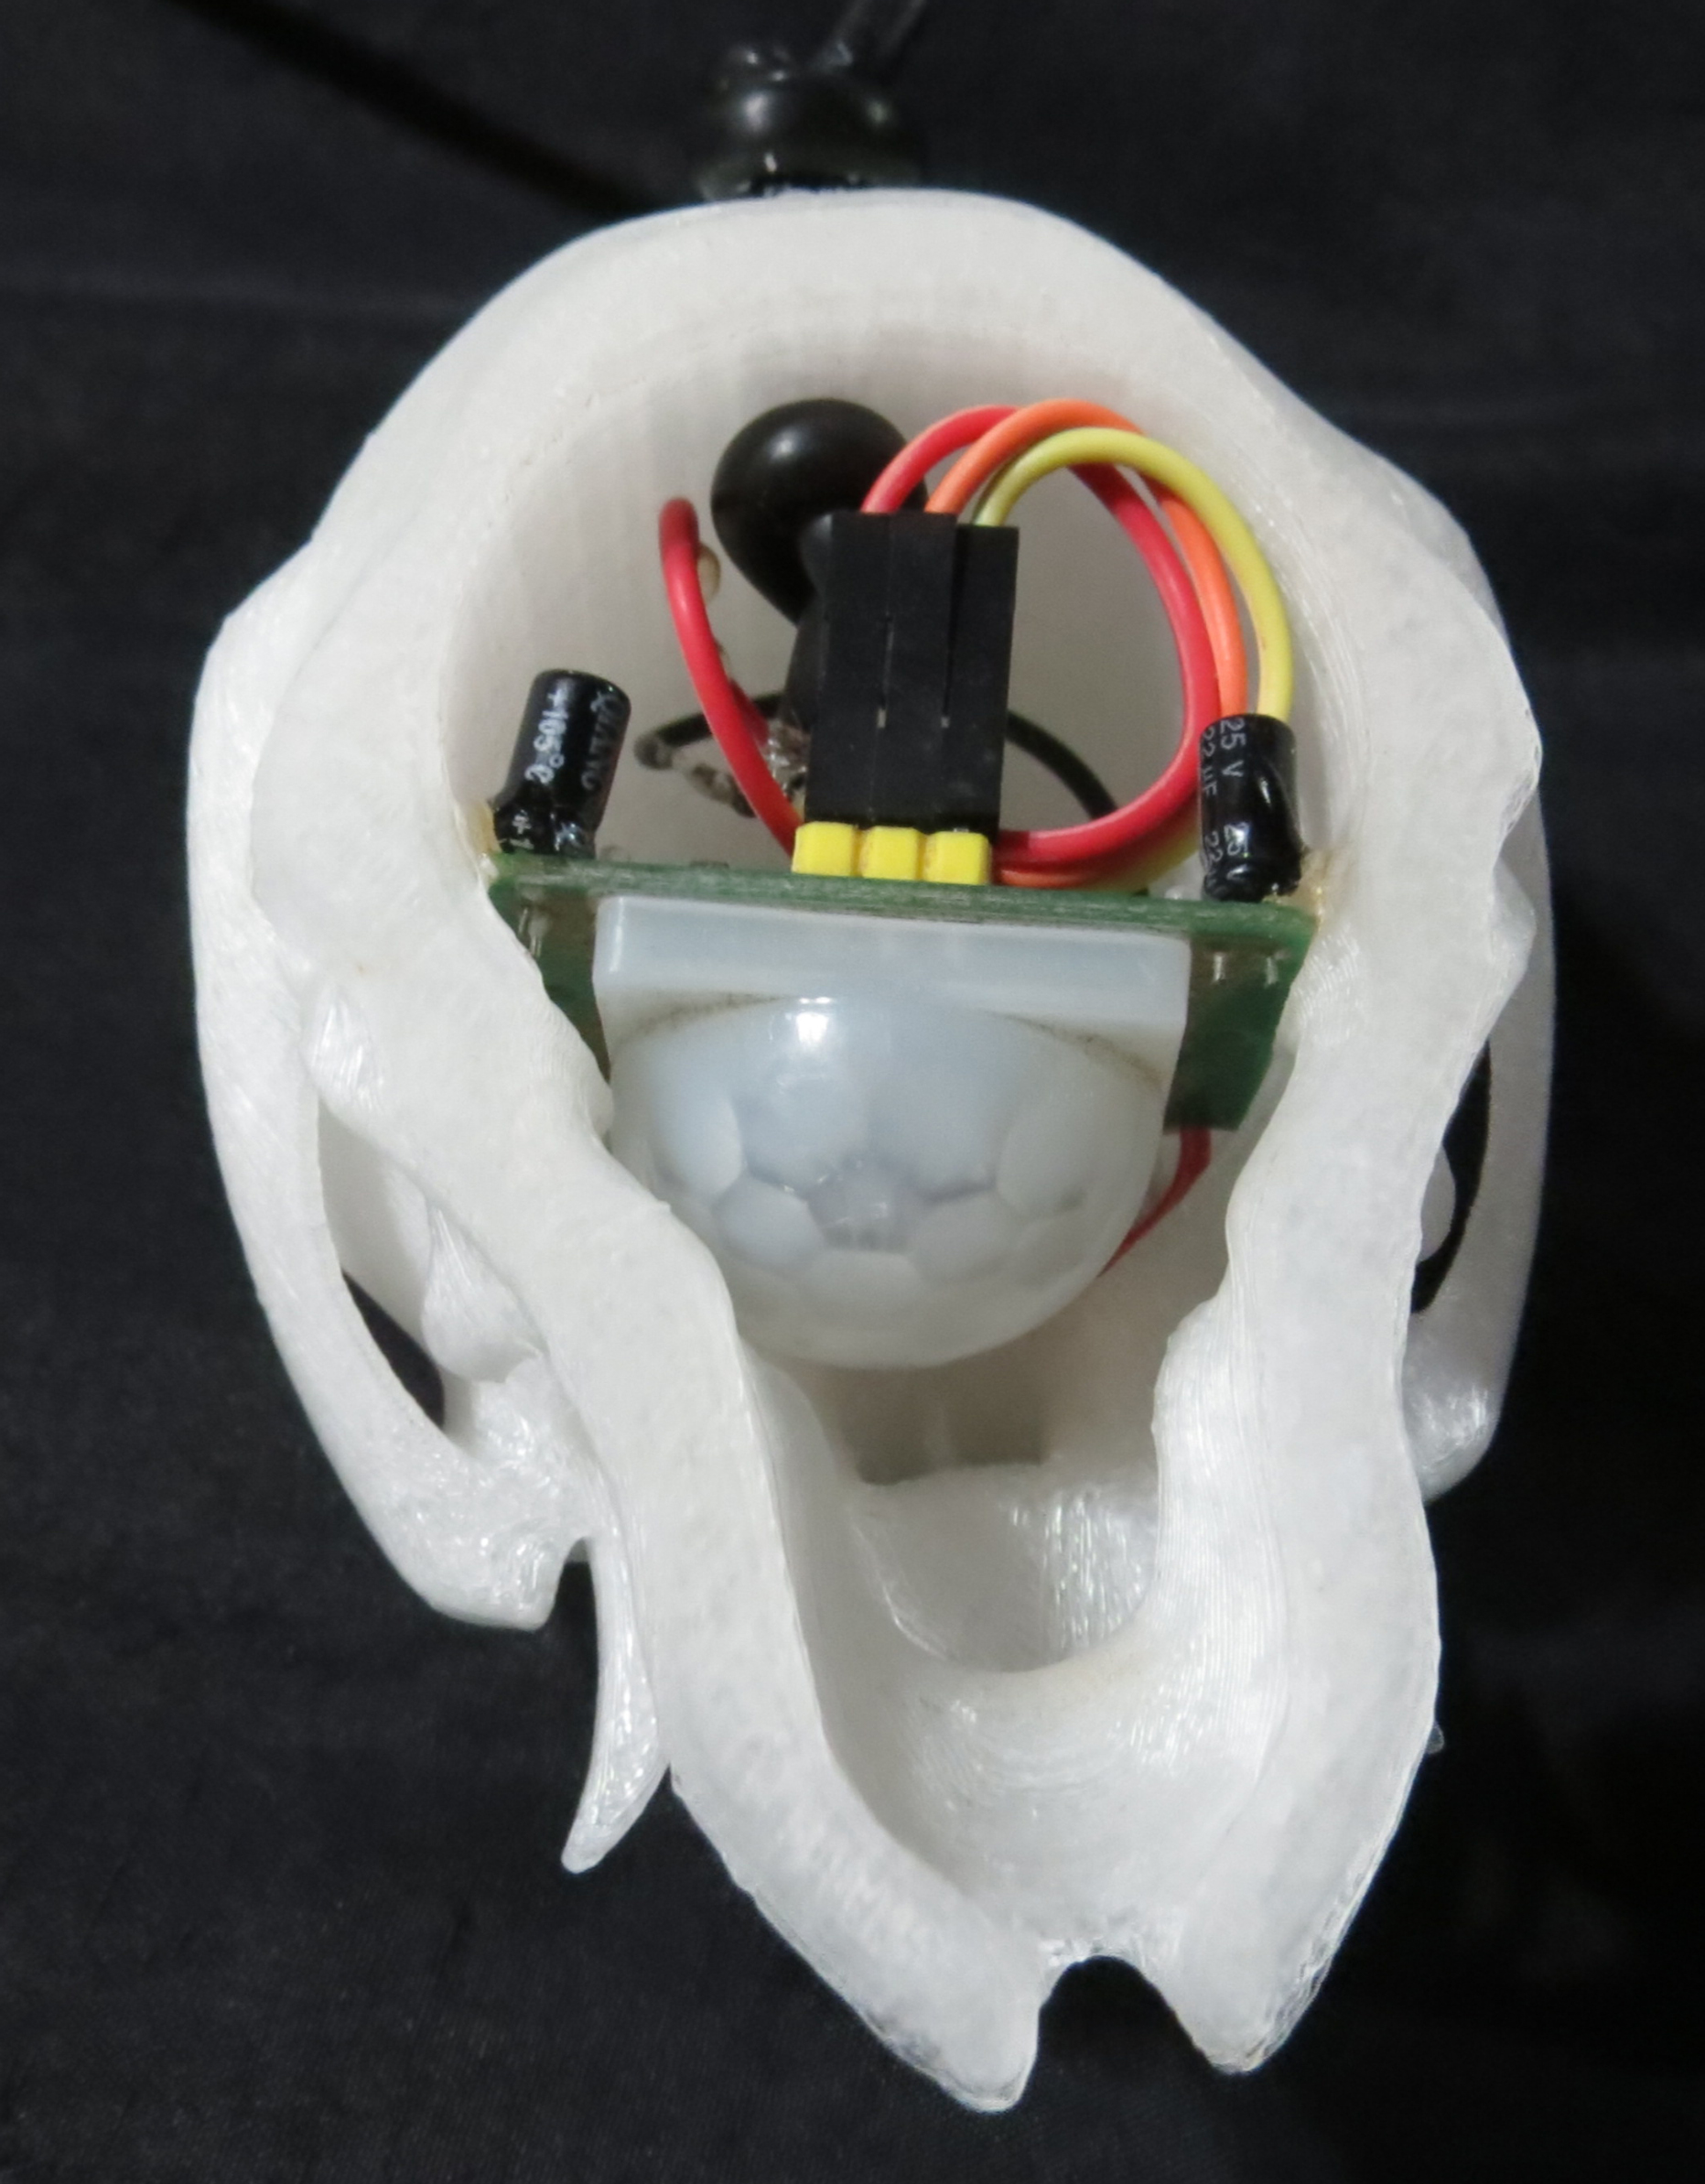
Bottom view of the skull. I’ll use Bondic to glue the PIR sensor in place

Skull with LEDs on
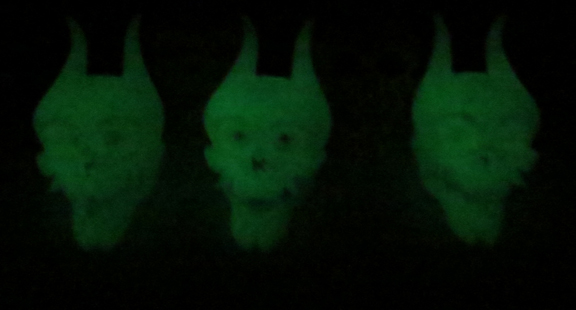
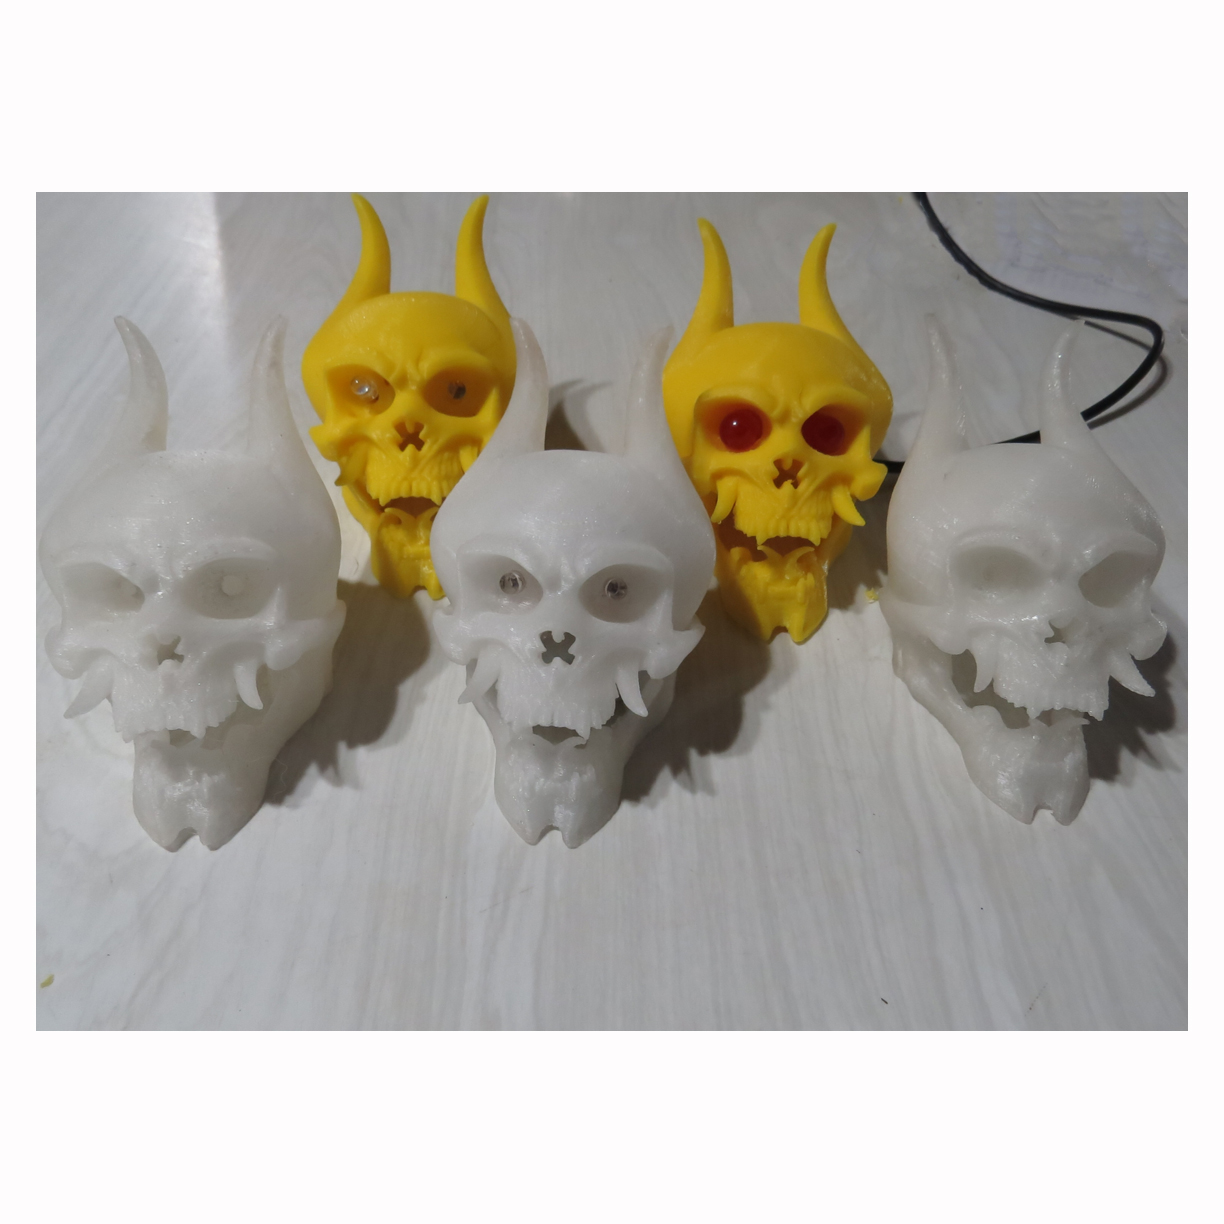
Skulls printed with glow in the dark plastic
© 2015 – 2019, Byron Seastrunk. All rights reserved.


First….these are very cool…..wish I could see them in person. Second….I did not understand a single word of this except for glow in the dark plastic. I hope I am not the only one of your readers who felt that way.