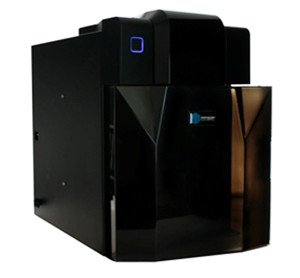
UP! Mini, my first 3D printer
June 2014, that’s the date I got my UP! Mini printer and wrote my first post on 3D printing. That was my introduction to 3D printers and while I intend to get another, I wanted to first review my reasons for getting that initial printer. I tend to review my goals and my achievements for all major decisions, I like to believe it’s an engineering trait but it could also uniquely be me.
So why would I want to buy a new printer? In the year that I’ve had my printer there’s been a number of innovations. The new printers are faster with better resolution. They’re capable of printing in two different colors and they handle a wider variety of materials. But before I consider upgrading my printer, I need to feel that I accomplished my goals for getting into 3D printing.
I bought my 3D printer for a number of reasons:
- To get involved in the emerging technology of 3D printing
- To understand the capabilities and limitations of 3D printing
- To motivate myself in learning how to create the models for the 3D printer
- To have fun.
So how have I done, what have I done?
Getting involved in the emerging technology of 3D printing : I would call this a success. Getting involved in the technology was easy. It cost me about $700, several concessions with the wife involving her garden and a lot of time on my part but at the end of the day I have hands on involvement with this technology and I understand it far better than I would have if I were simply reading reviews in the magazines.
Understanding the capabilities and limitations of 3D printing : Another success. I was incredibly lucky to pick out the printer I did. That’s not to say it’s the best printer on the market for its cost but it is a very good value. The included software allows me to scale models up or down. It allows me to print multiple objects in the same print. It automatically inserts support material and gives me the option to adjust the internal density rather than printing the models as solid pieces. At the time I bought the printer I had no clue that these were desirable features.
I learned how difficult it is to print large flat pieces, especially on my printer when the bed was not heated quite enough and print material was not adhering well to the print bed. I had to learn when and when not to print a raft, that’s the support material used to ensure your model print flat. I had to learn how important it is to have the right kind of support for the print model. As you can see from my Basset attempts, the software on my printer doesn’t always give me the support I need.
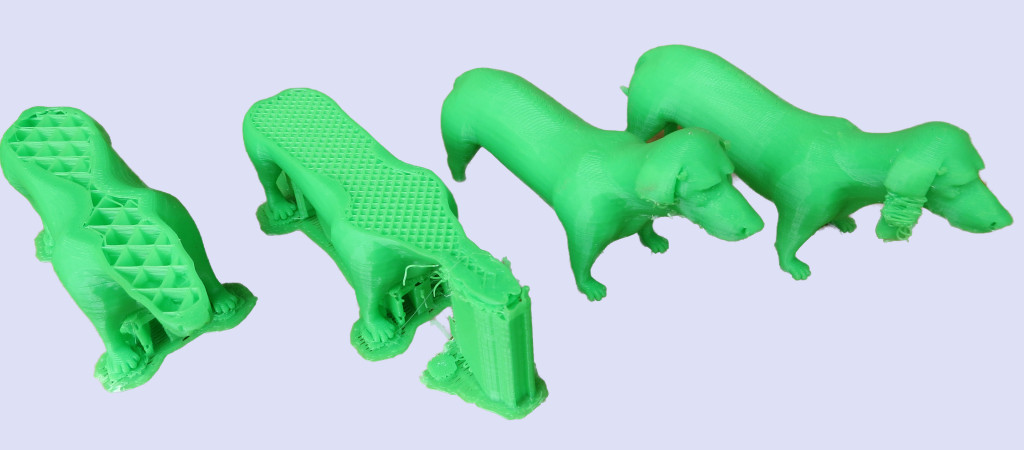
Note the different fill densitys on the left
Learn to create 3D models: I have to be honest and call this a failure. You would think this would be easy for me. I use Poser on a regular basis and I modify 3D objects all the time in it. I think I got lazy here. Don’t get me wrong, I’m actually getting to the point where I can create models but it’s been over a year and I still struggle. Blender and I are now on a first name basis and I ‘m also using a number of other software packages that allow me to create and modify models.
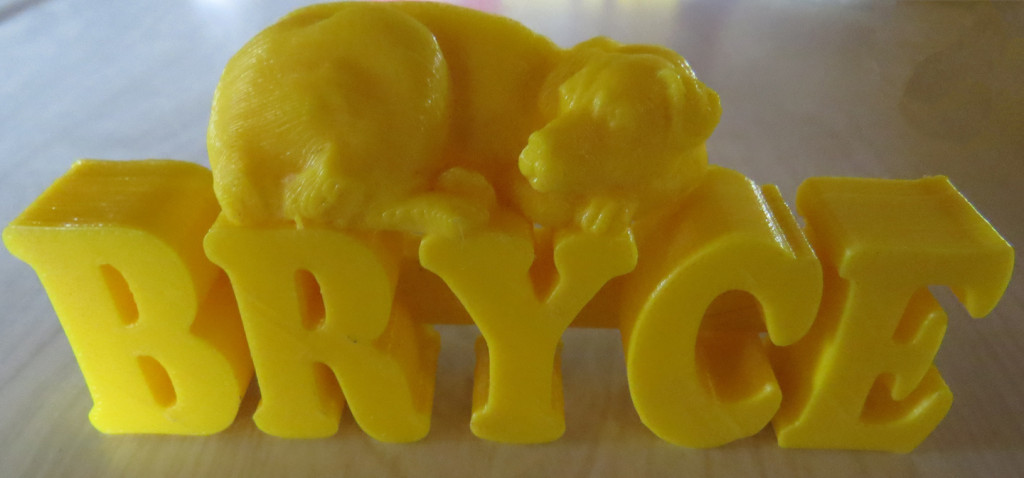
Customized nameplate for Bryce’s home away from home
Still, the first thing I do is go to www.thingiverse.com and do a search for models. Nine times out of ten I’ll find what I’m looking for and some of the folks there are really creative. When you consider that they put in the models out there for free, it’s hard to tell them how much I appreciate their efforts.
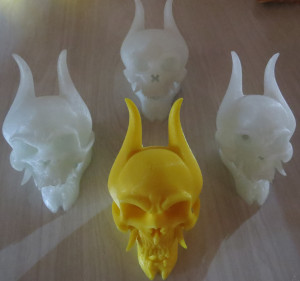
Undead army
Wanted to have fun: Absolute complete freaking success! If your idea of fun is waiting for 6 to 8 hours for your print to complete and then exercising all the skills of an archaeologist picking out the support material while trying not to break any of the fine detail of your model then you’re in luck. Okay that’s probably a little harsh but it’s a fact of life with a 3D printer. Over time I’ve learned what I can print and what I can’t print. I’ve gotten better at the fine art of removing support material and I’ve gotten much better at arranging my prints to reduce the amount of support material needed.
As I said before, I can’t give enough praise to the people contributing models to www.thingiverse.com but not all printers are created equally and models that print wonderfully well on their printers sometimes don’t print as well on my machine. I’ve learned to accept that I can’t always succeed the first time. It’s also motivated me to learn how to modify these models so they would print well on my machine.
Still. the fun is undeniable. This month has been especially great for me. My wife is starting to plan her garden for next year and asked me if I could print labels for her plants. I found a nice model on www.thingiverse.com and started modifying it for the different plants. When my mother-in-law saw the nameplates I was making for my wife, she wanted a set for Christmas. Fantastic, one less person to shop for and I can customize her set.
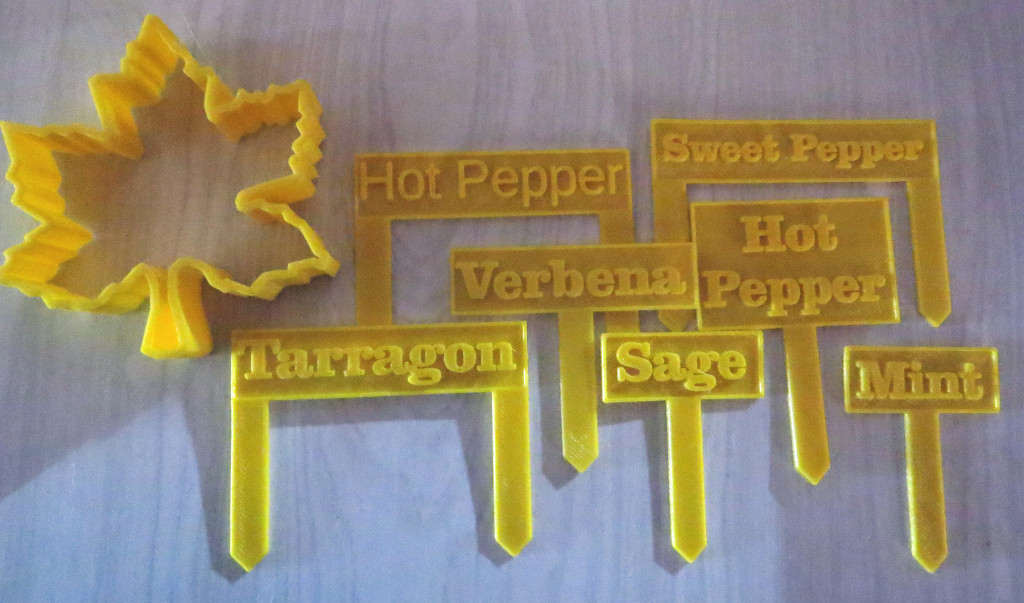
Plant nameplates. The cookie cutter is a subliminal suggestion to my wife
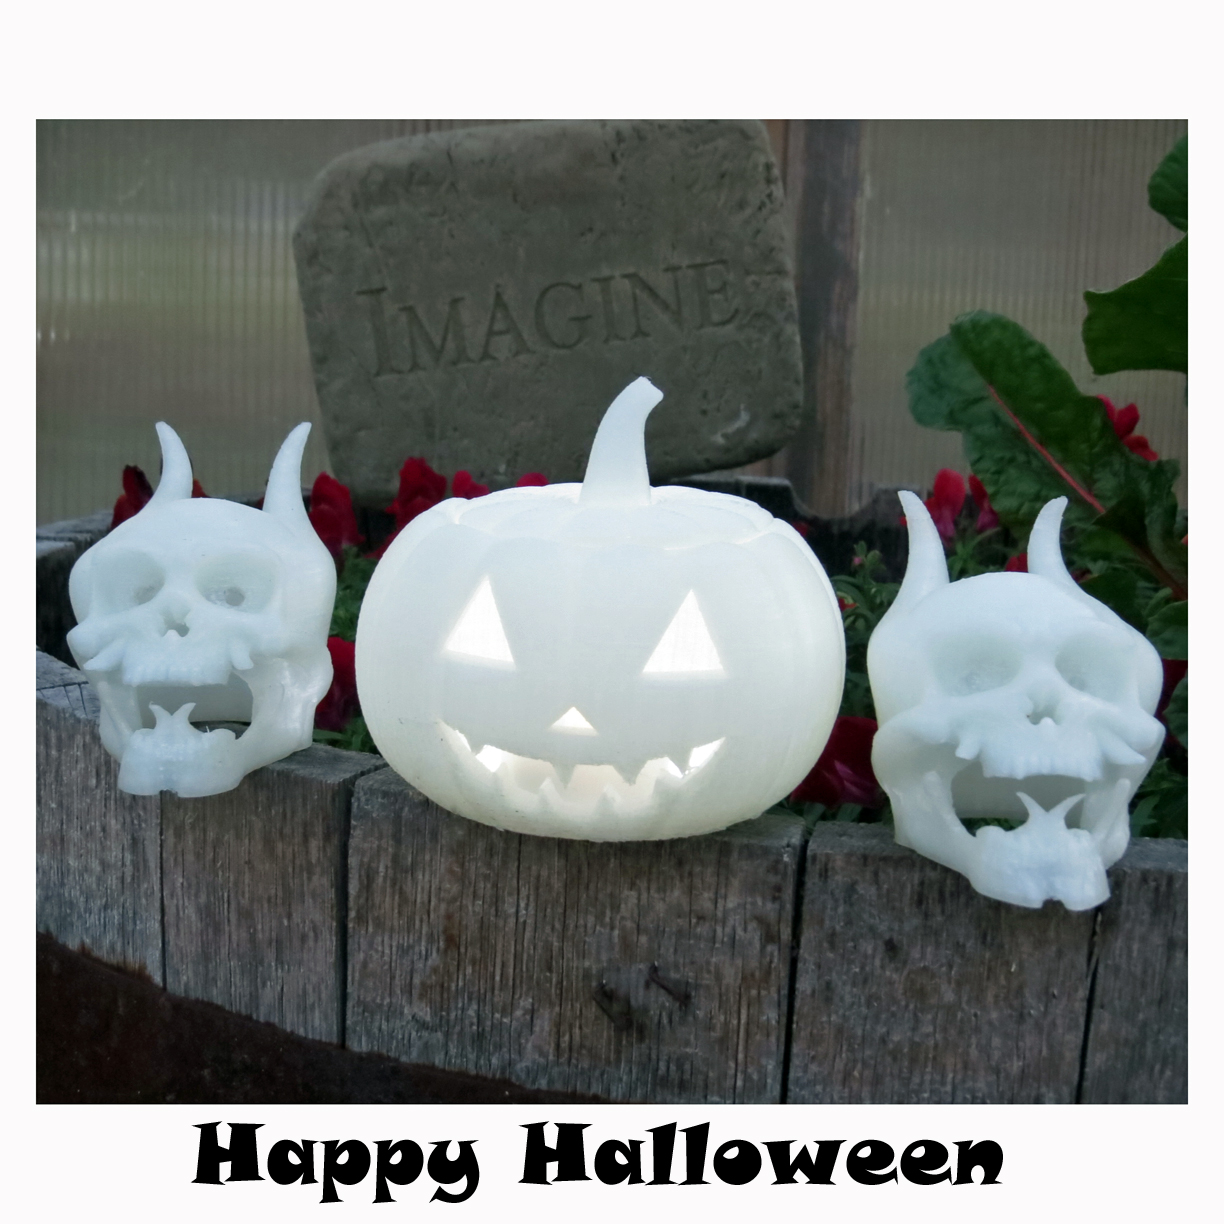
Then there’s Halloween. Halloween is a great time to have a 3D printer. From cookie cutters, ghosts, demons and pumpkins there’s a lot to print out. Add a roll of glow-in-the-dark filament and your imagination is your only limit. You’re right, I could probably buy all of it at the dollar store but I would miss out on all the fun and this way I can tweak the models. Sorry but you’ll have to wait until next week to understand why I’ve been making a collection of skulls.
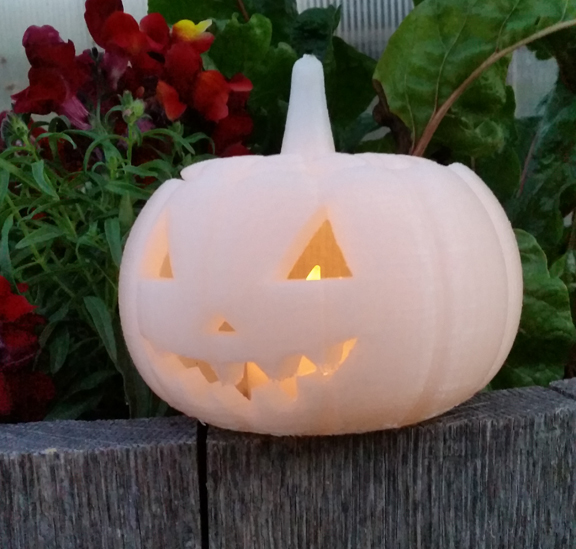
Jack O’lantern with LED tealight
© 2015 – 2019, Byron Seastrunk. All rights reserved.





OMH…..I want some cookie cutters too!!! And look at the pumpkin!!! You are getting very very good at this!!!!