I’ve always been fascinated by lasers. When I was much younger, I tried to make one using an LED and a transistor for amplification. Fortunately physics was against me and I think we’re all happy my attempt was a failure. That failure did nothing to diminish my interest in lasers. When SainSmart offered me a special introductory price on their Jinsoku LC-40, I studied the specs and price carefully but it was the way they had honored my warranty on my 3018 CNC that convinced me it was time to buy a laser engraver.
So why the LC-40? Why not just buy a laser module for my 3018 CNC machine? I would have saved money but the LC-40 represents several advances in speed, power and capability, not to mention the working area is over twice that of my CNC. The LC-40 laser diode is putting out 5.5 watts of power in a much tighter beam than previous generations of engravers. This narrow focus improves the cutting and etching performance. It’s not a CO2 laser but it’s also much less expensive.
I had already been researching engravers and knew that manufacturers don’t always give beam wattage. Instead they choose to discuss total power usage, often as high as 60 watts but still put out 5.5 watts or less of beam power. There were a few manufacturers that achieved 10 watts of beam power by combining the output of two laser modules. At double the price, I was only window shopping those models.
Assembly:
Compared to my 3D printer and my CNC, assembling the LC-40 was easy, six major pieces and and associated hardware. There were only two places where the instructions were not as clear as they needed to be. Unfortunately, one of those almost ended in disaster but we’ll discuss that later. In less than an hour I was trying to burn wood.
Performance:
The LC-40 is capable of two different operational modes, a fairly simple program that can be driven by a PC or your smart phone or a GRBL compatible mode that allows you to use LightBurn or LaserGrbl . To switch these capabilities, you need to flash the controller. I spent about two days with the native program and while it did everything I wanted, I was now smart enough to want more. I flashed to the GRBL compatible mode, started using LightBurn and haven’t felt a need to go back. Really easy.
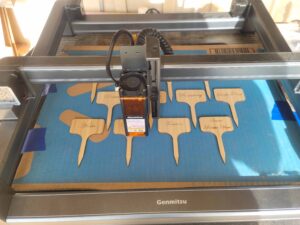
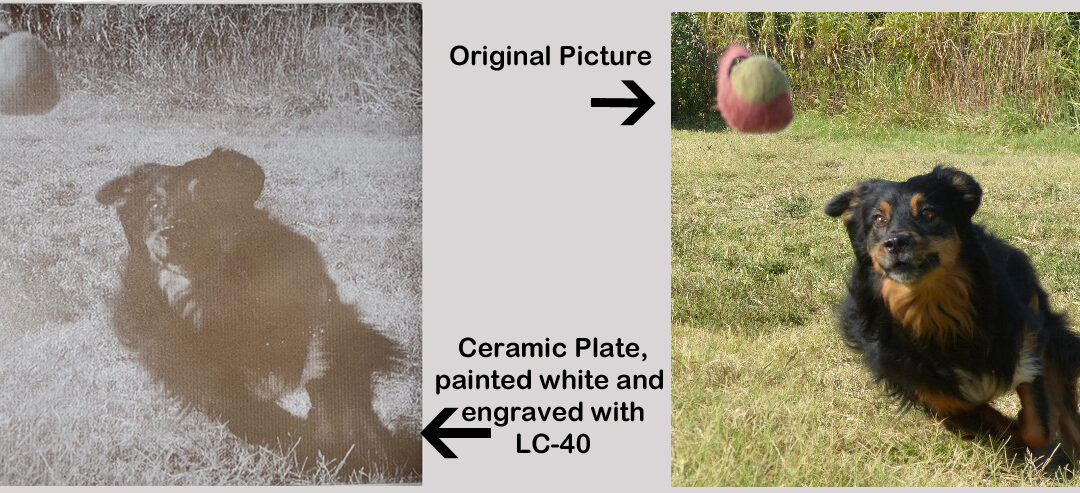
Engraving plant labels
Lightburn isn’t free and it does have some quirks but the additional capability it gives you is well worth it.
You have three means of adjusting beam cut/effect, travel speed, laser power and number of iterations. The design of the LC-40 gives a precise home position, allowing you to always repeat exactly the same path. I’m still learning but here are some observations:
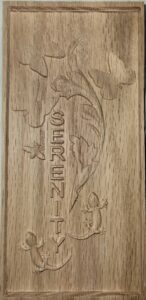
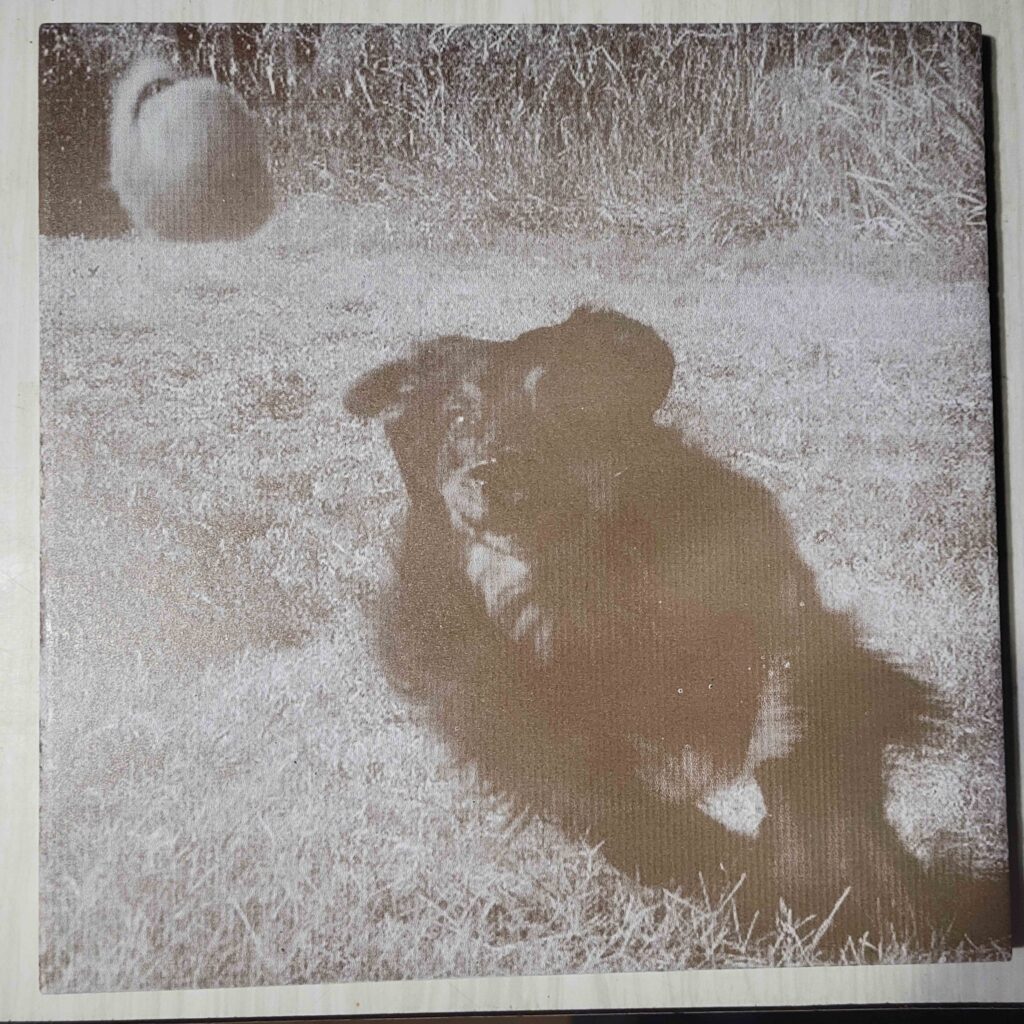
Wood: The LC-40 easily scribed all the wood labels I started with. Lightburn allowed me to mark a piece of cardboard for use as a placement guide for precut labels. Images were a different issue. In many cases the grain of the wood completely obscured the image. This was very notable on a piece of oak. See the picture below.
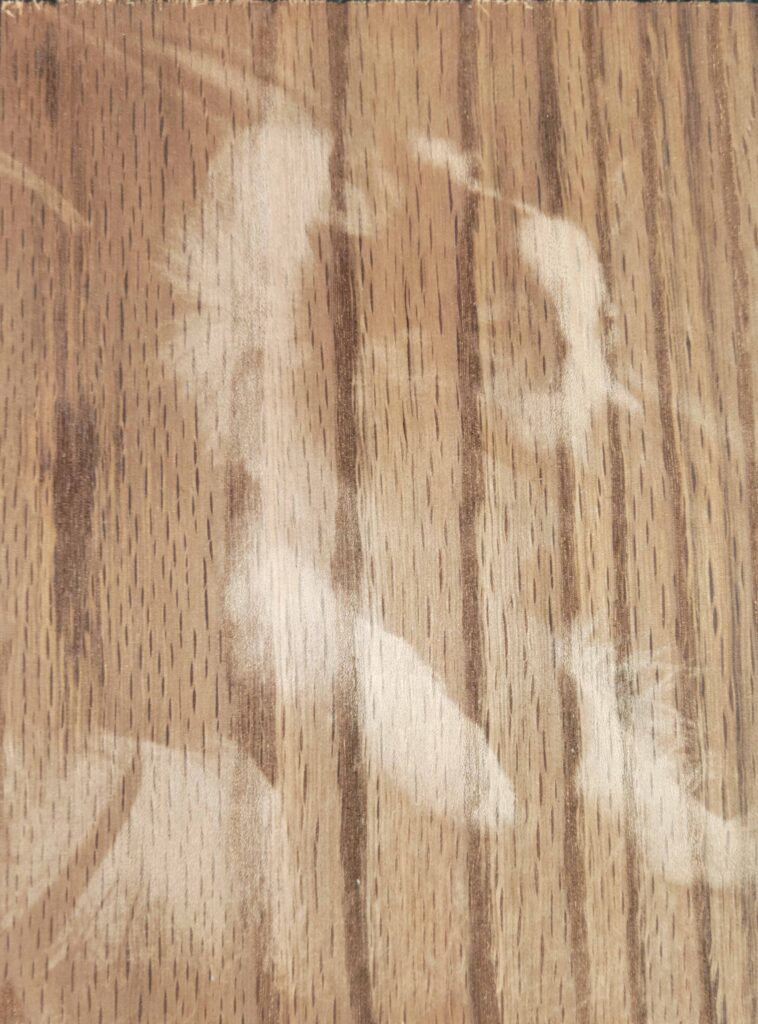
Attempted image in oak
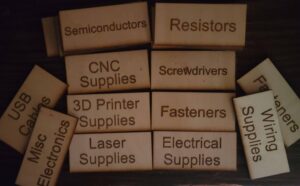
Wood Labels, 1/8 inch plywood
My expectations were tempered by all the other product reviews I read before I saw the LC-40. At the price I was paying, I felt I would be satisfied if I could cut 1/8 inch plywood. Thick enough to be useful but not so thick as to be wishful thinking. I can’t say it cut through the plywood like butter but with the right combination of travel speed, power and repetitions, I was able to get consistently good results. The nice thing about the LC-40 is that only the beam is moving. If I want it slightly darker or don’t think I have a good cut, I can tell it to repeat without having to reposition anything.
Leather: Leather was not my target media but finding a scrap piece of leather in my workshop, I decided to try it. Text is very good, images turned out better than wood but although it was less than 1/8” thick, I never managed a clean cut.
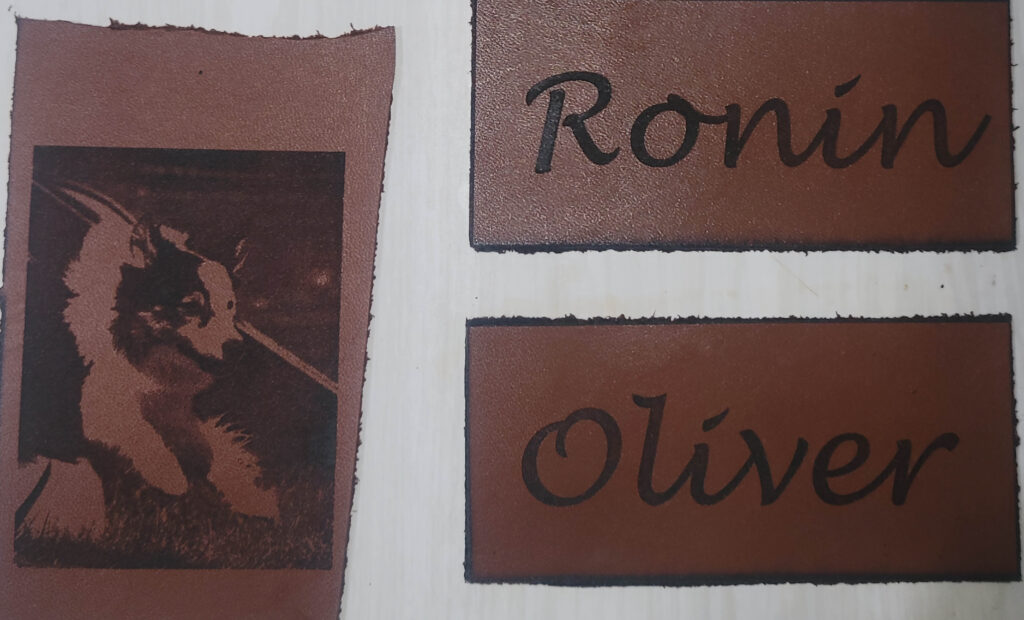
Leather engraving samples
Styrofoam: What can I say, the egg carton was there and I tried etching an image on it. You can do it, just use very low power and maximum speed.
Metal: I was able to engrave thin aluminum by using 100% power and moving at 5mm/sec (very slow). Black anodized aluminum was slightly better but only slightly. Painted metal was easier but I suspect I was etching paint rather than metal.
Metal attempts, black anodized aluminum, white enameled aluminum
Observations:
The overall engineering is impressive. Exposed moving parts are minimized. The beam focus is adjusted using a 5mm block that is stored on the frame, great engineering. On the other hand, the adjustment process requires you to loosen a thumbscrew, rest the laser module on the calibration block and tighten the thumbscrew.
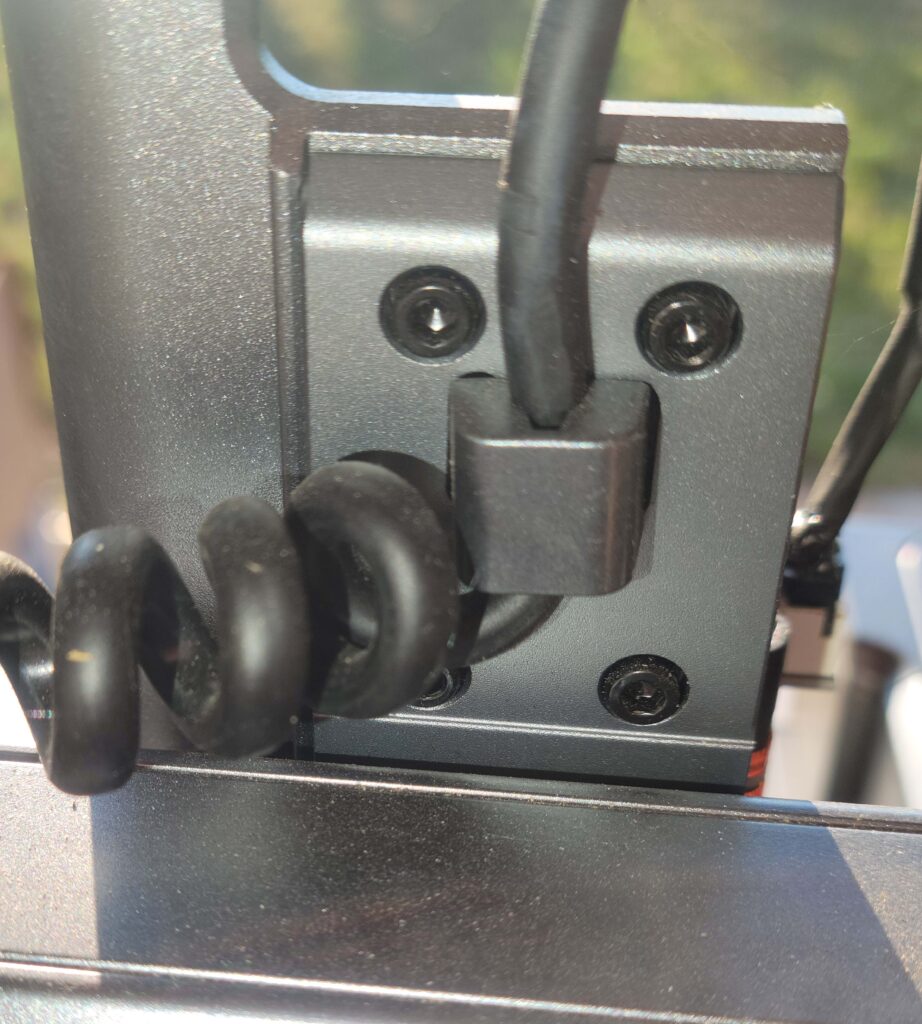
Strain relief must be place as close to the coil as possible
Remember that disaster I mentioned? When I attached the cable to the laser module, I did not have the strain relief in the proper location. This allowed the cord to bind the laser module in place. Because it was still trying to move, the vibrations caused the thumbscrew to become loose. The laser module dropped onto my support plate, became fixed in place and trying to burn a hole through my workbench.
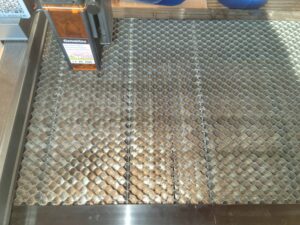
Aluminum honeycomb used as a support
Although 5mm is the optimal focus point, I can testify that the laser can burn a surface almost an inch from that focus. When I was cutting wood I had it supported on an aluminum honeycomb that was almost an inch thick and I still burned an image of my cut shape onto my worktable. I now use ceramic tile under the honeycomb.
SainSmart has made the LC-40 as safe as possible but it’s a real laser. It can cause fires and do serious permanent damage to you. Forget to set focus distance and the optical guard is no longer protecting you. Although the LC-40 has an optical guard you should wear goggles, especially if working with reflective surfaces.
Although very quiet, it needs to be used in a very well ventilated area, outside if possible. Based on my own personal experiences, it would also be wise to warn your significant other to expect smoke and noxious odors. My wife was not happy.
Final Thoughts:
Wooden plaque for garden swing made on the 3018 CNC. It’s not related but the laser won’t replace it.
I have a 3D Printer, a CNC wood carver and now this engraver. Each has strengths and weaknesses but this was a faster build and a much lower learning curve. The layer feature in LightBurn makes it easy to achieve complex designs. I’m not giving up my 3D printer or CNC but if it can be done in 1/8 plywood, this will probably be my first choice.
I won’t deny I sometimes wish I had bought one of the 10 watt engravers but then again I often wish I owned a Ferrari too. Neither is in my near future. I’m very happy with my LC-40. It assembled easily and with the exception of the thumbscrew used to set focus, shows a lot of good engineering. My accident was a result of inadequate instruction and a bad guess on my part. If you want to do a lot of metal engraving, this isn’t the laser for you. For anything else, you certainly won’t regret your purchase.
If you decide this is the engraver for you, Sainsmart is offering an additional 10% off if you use this link, http://sainsmart.refr.cc/byrons Full disclosure, they also give me 5% of your purchase. I still recommend doing price checking on Amazon, you won’t get the 10% discount but the Amazon may still save you money.
© 2022, Byron Seastrunk. All rights reserved.


Recent Comments